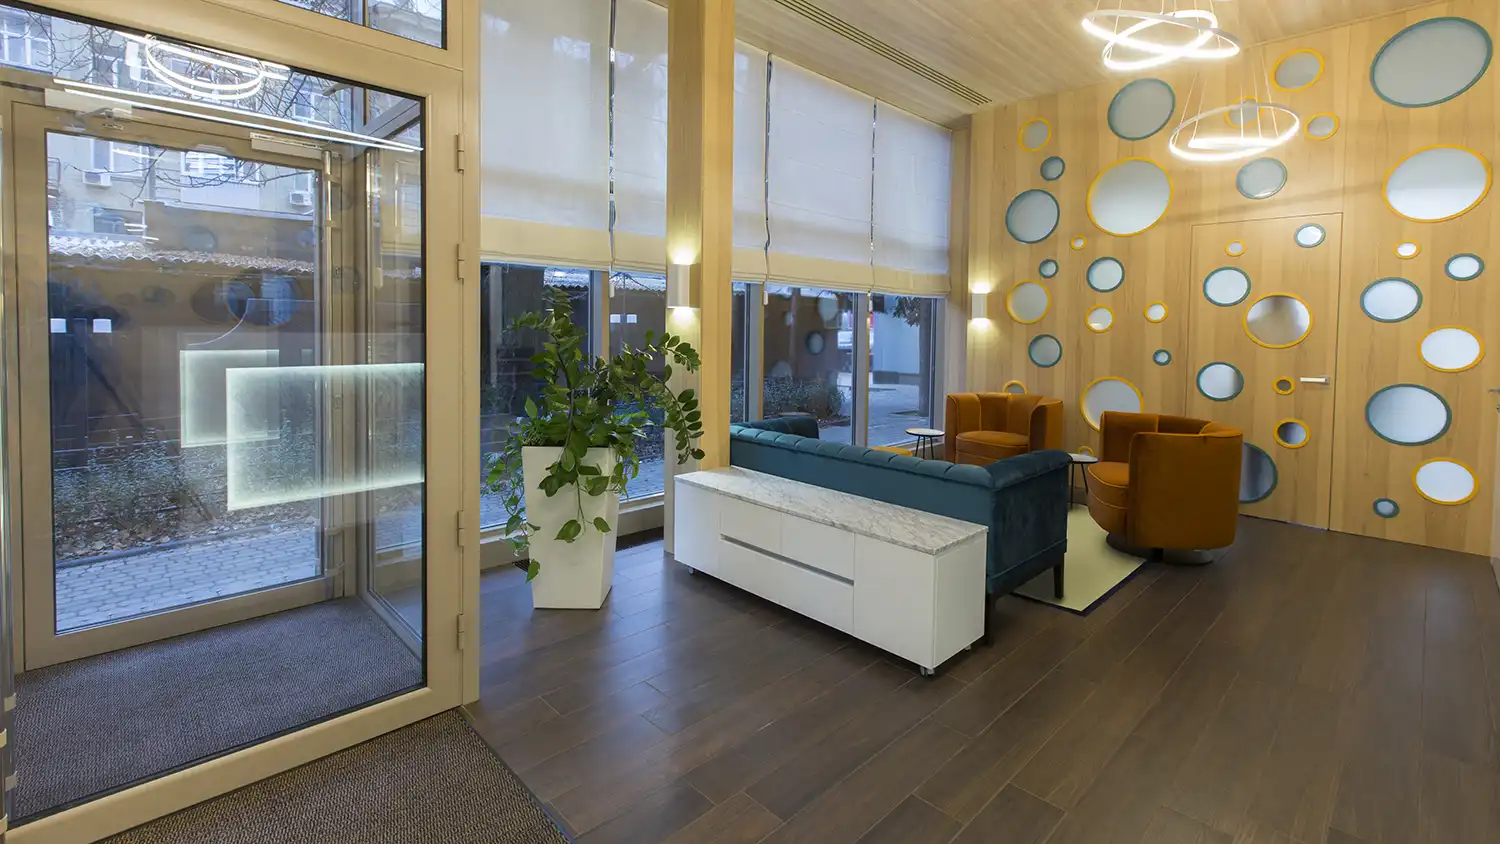
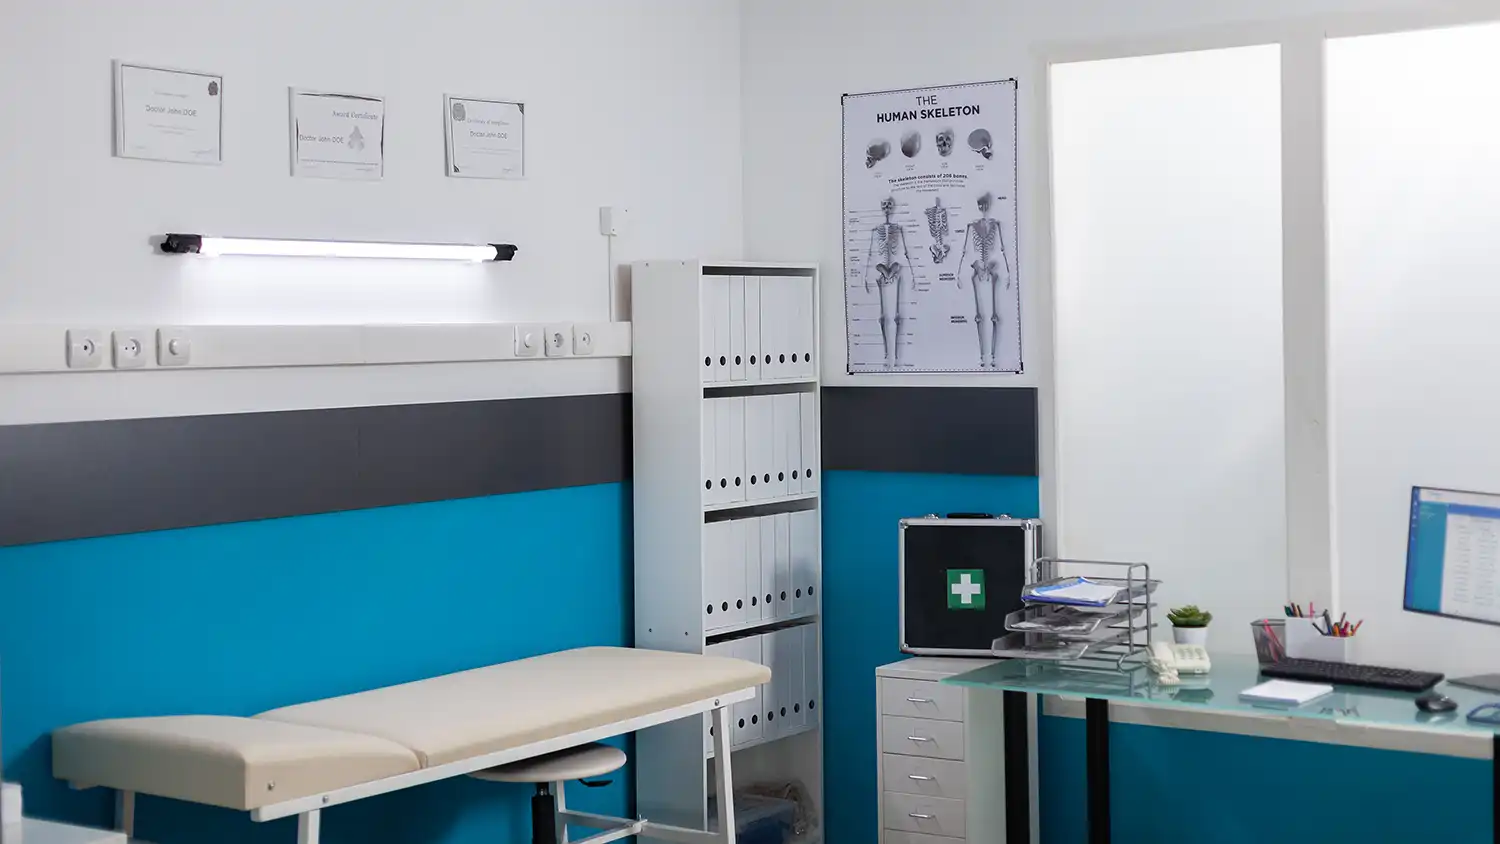
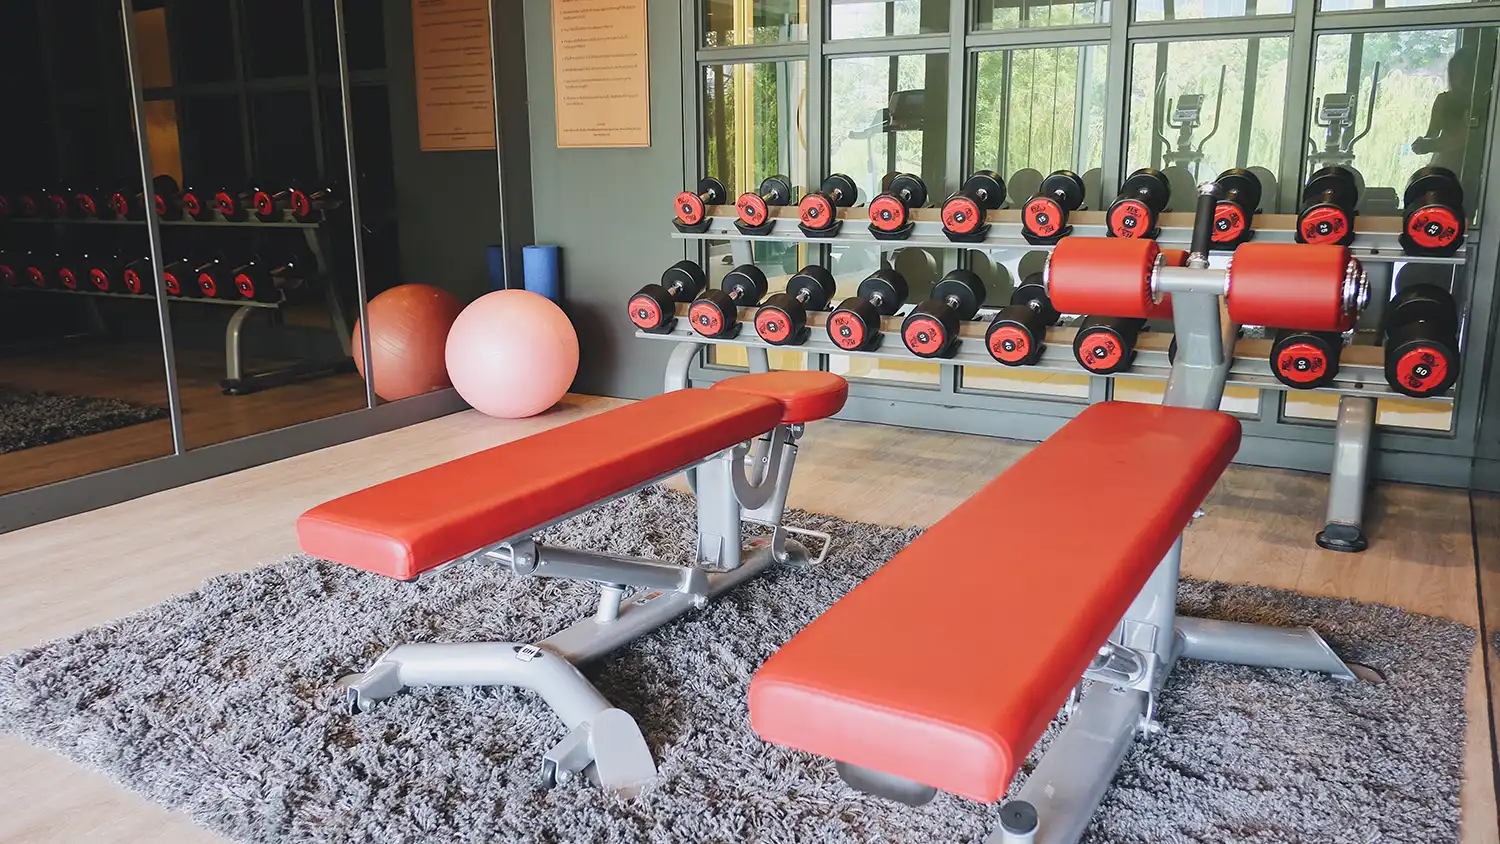
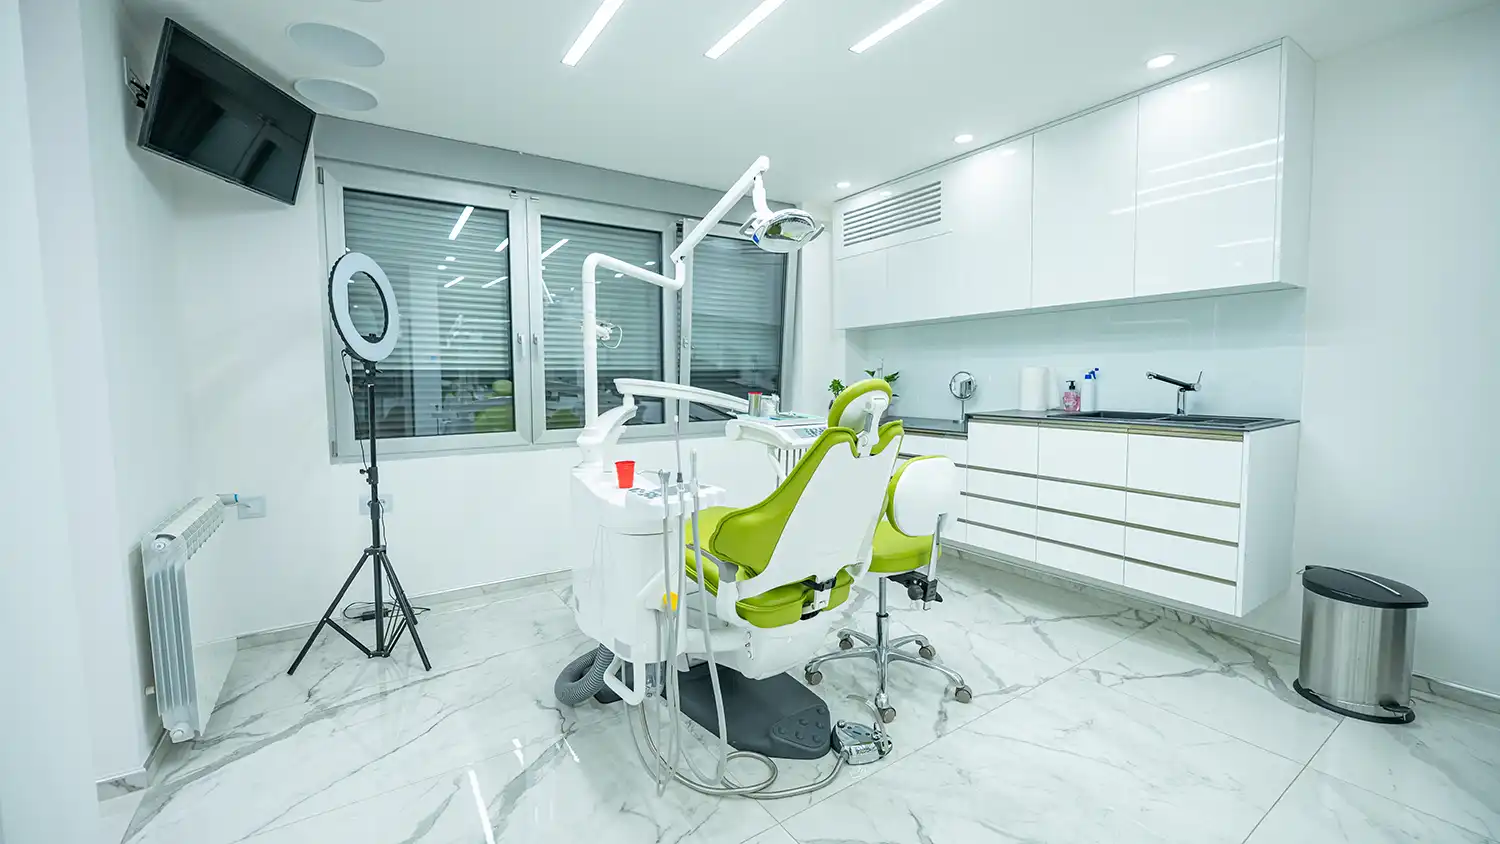
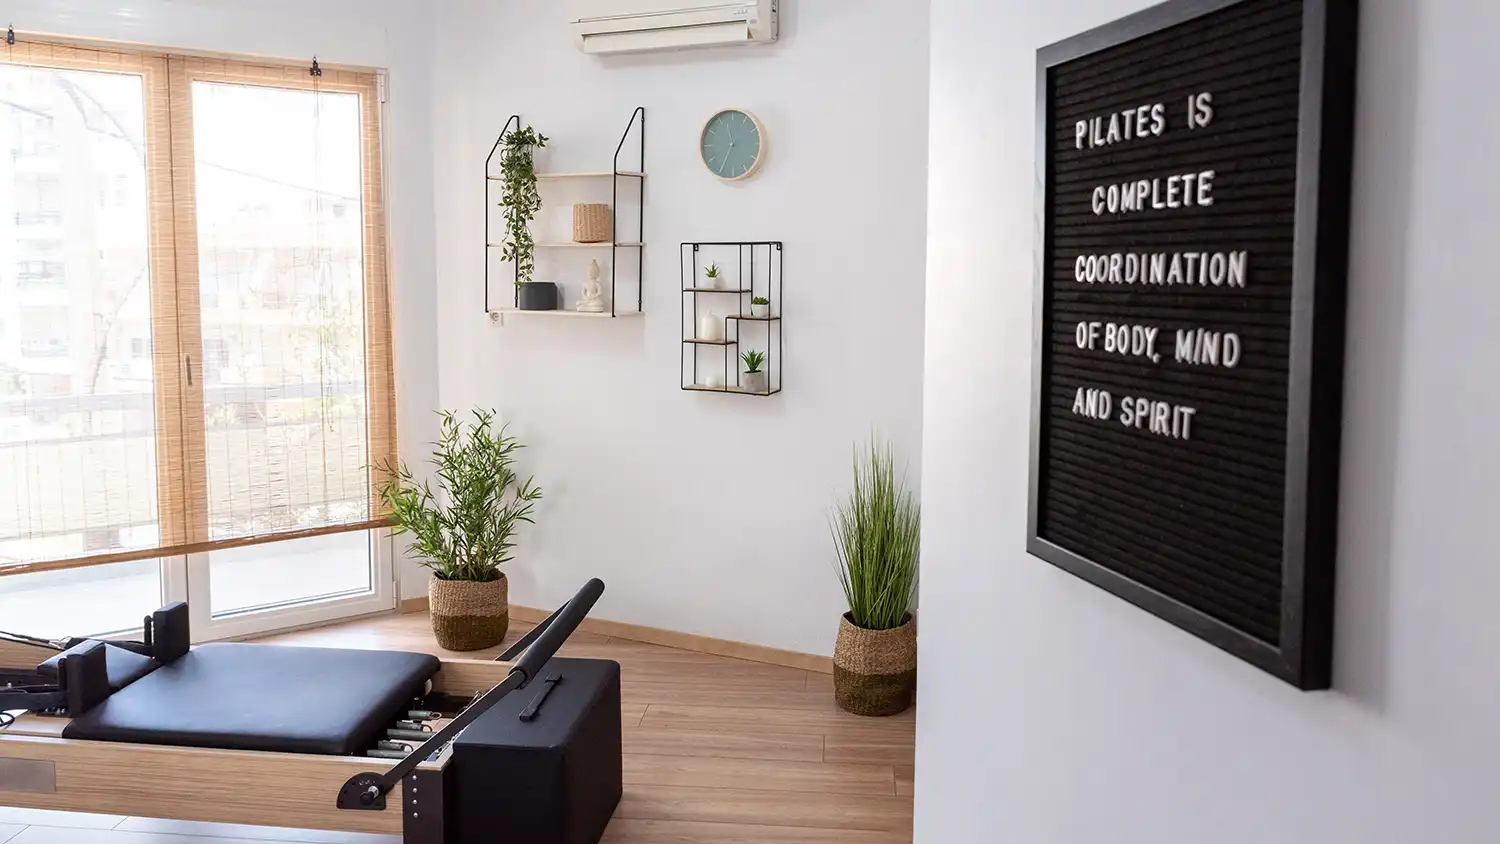
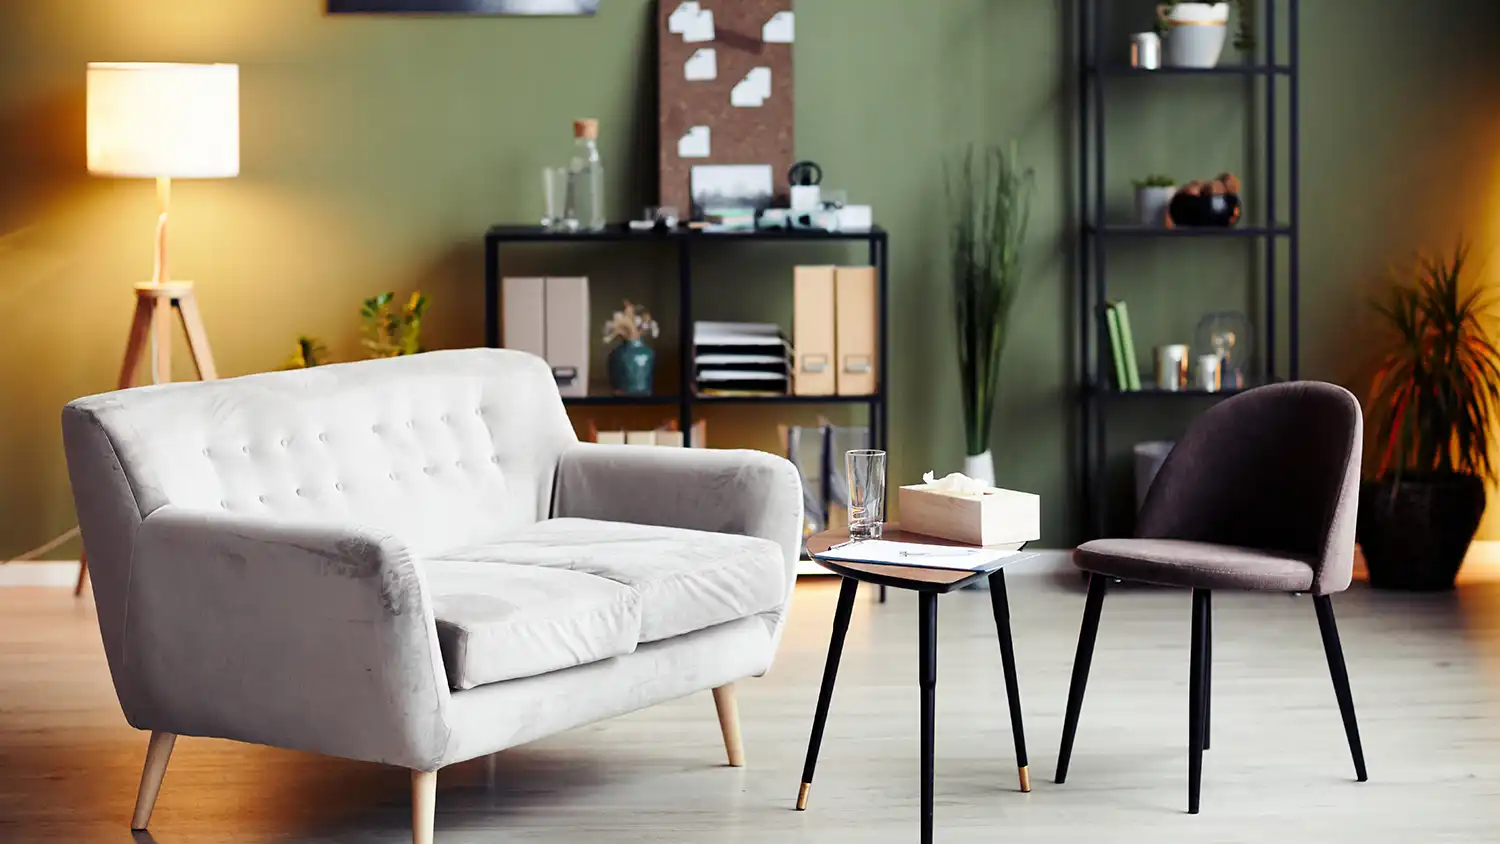
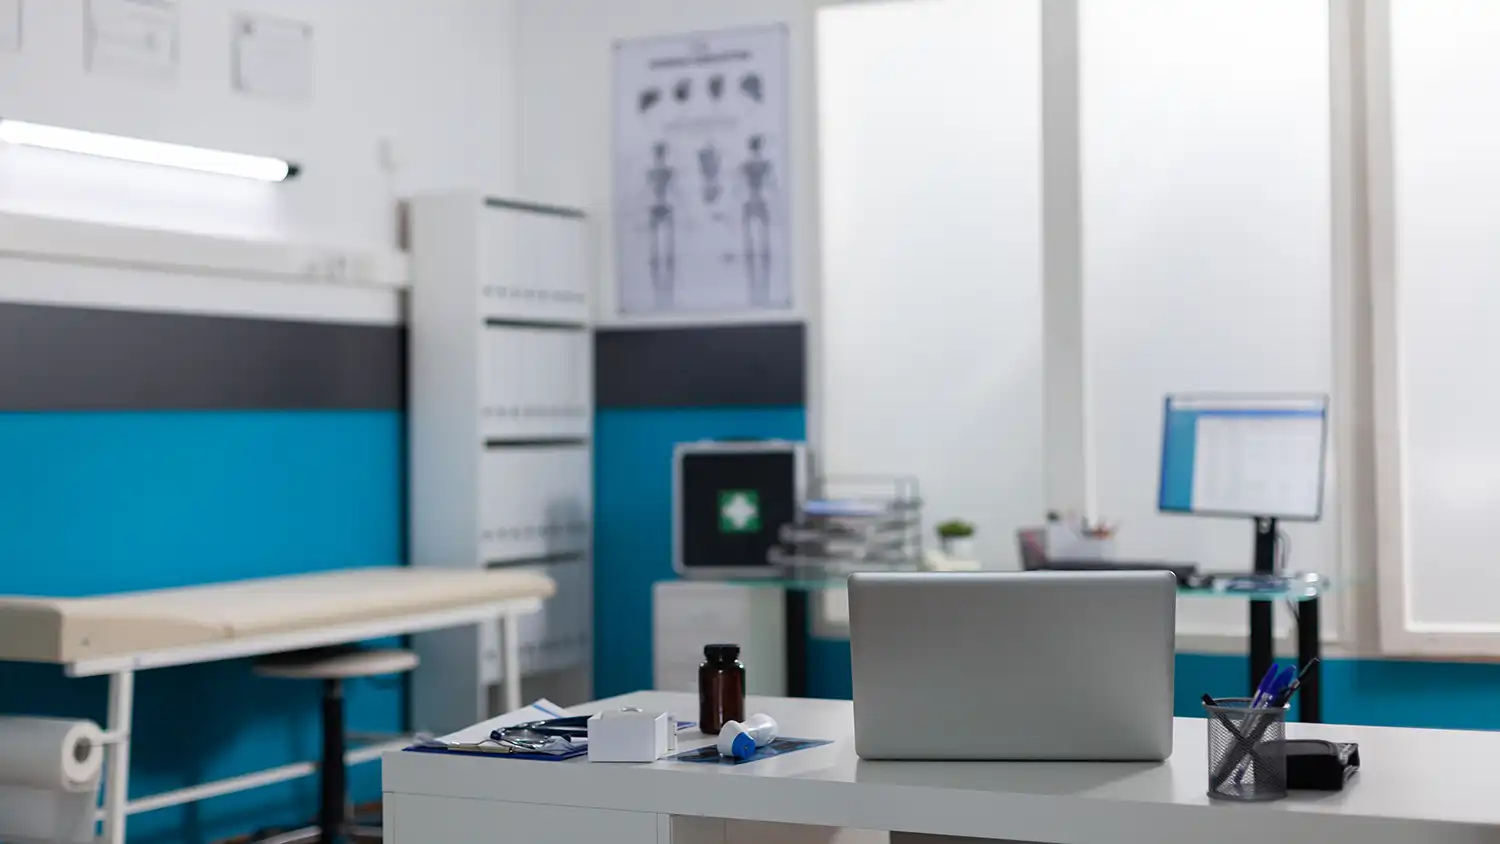
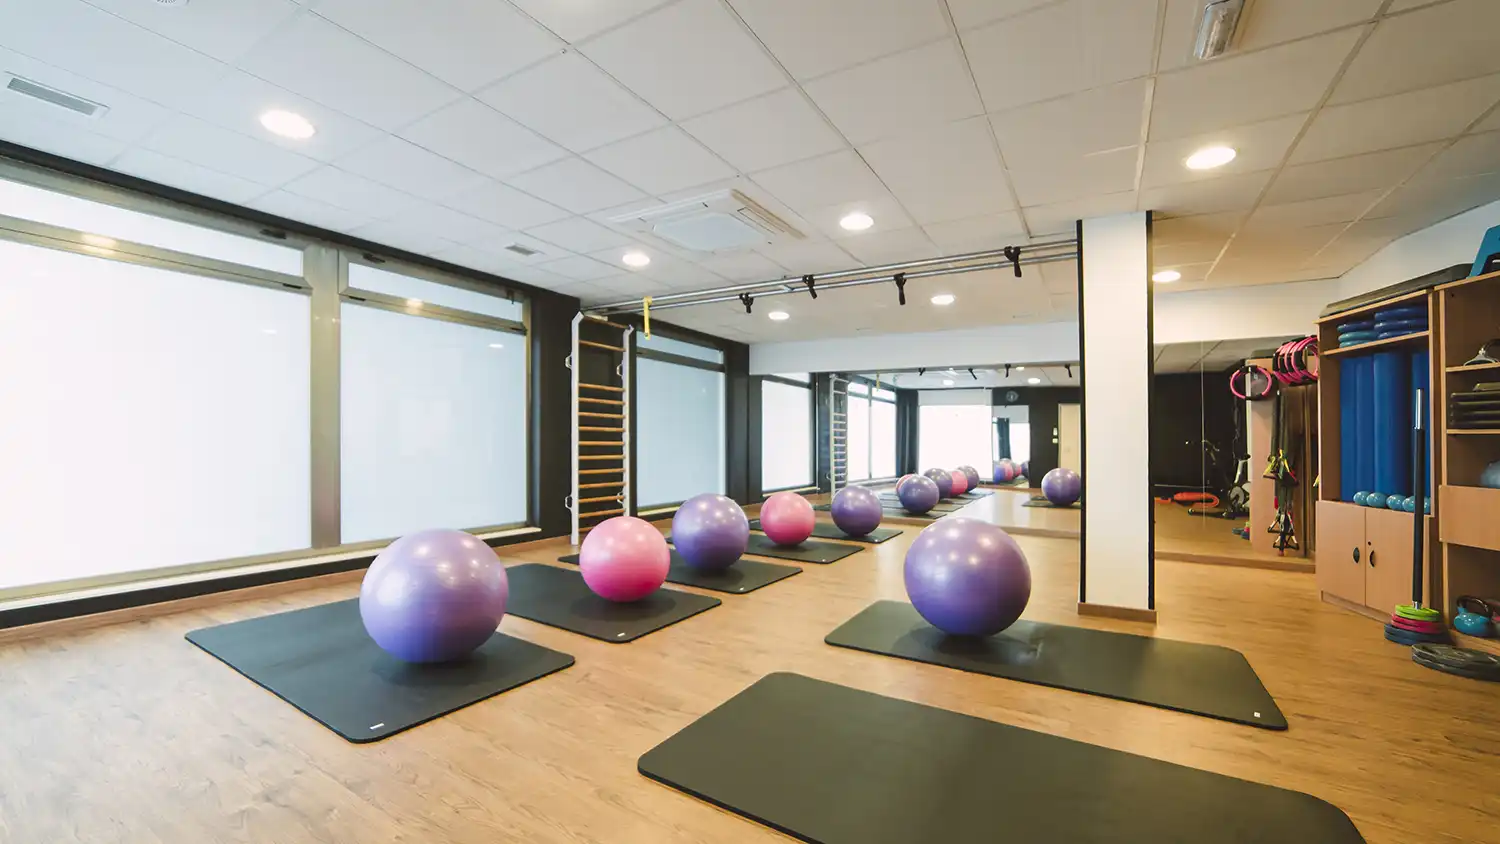
If you are looking to rent out space in your medical practice, the photos you use to market it will be critical to attracting a new health practitioner.
Photos taken by a professional are definitely going to give your chances of attracting the right tenant a boost, but if costs mean you decide to take your own rental marketing images here are 7 tips to help you ‘shoot’ for gold!
1. Declutter for clean lines
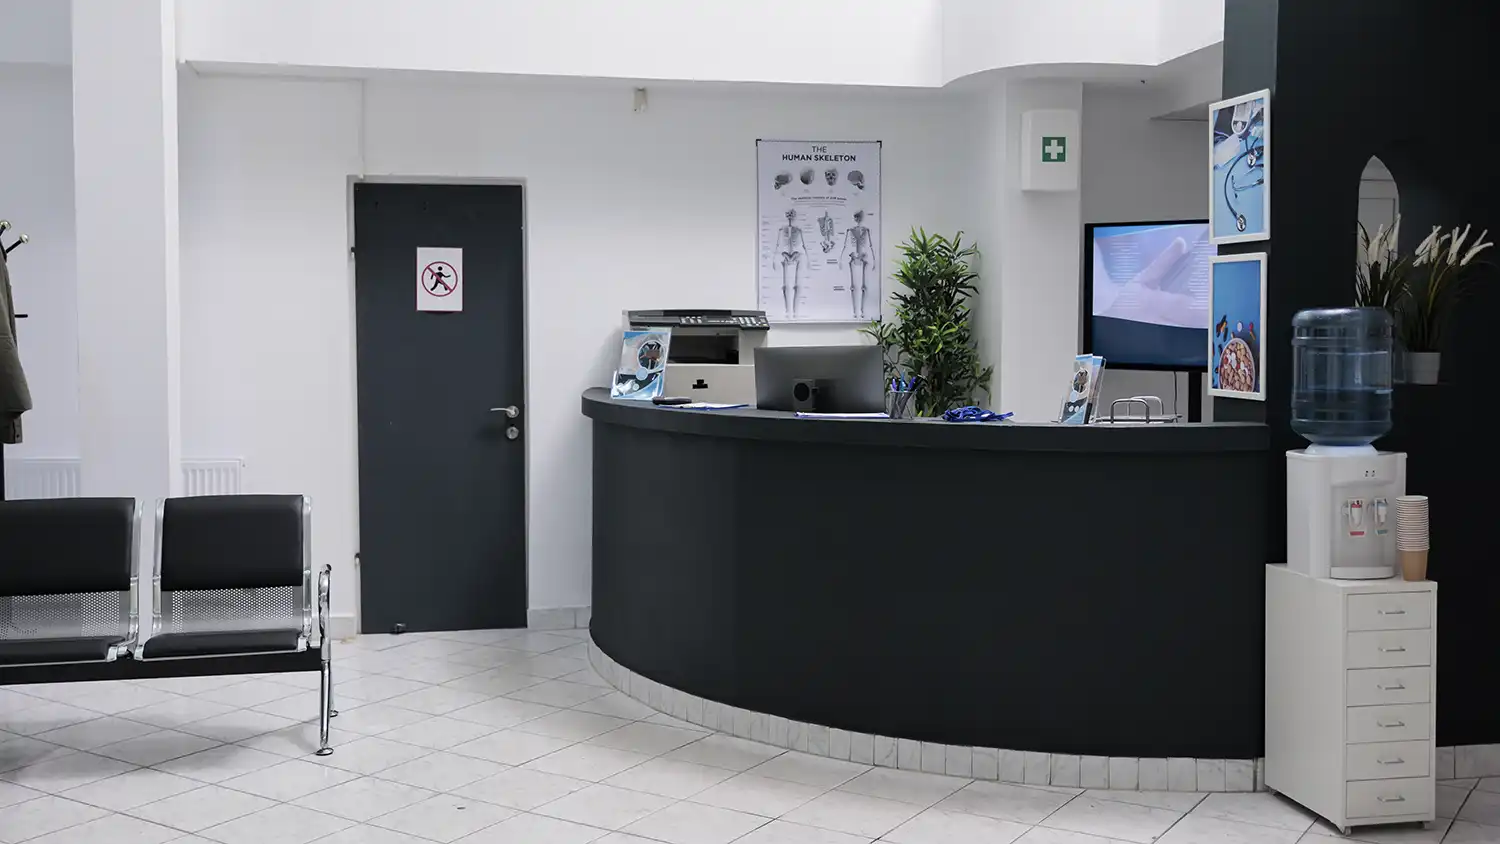
Just as real estate agents advise property owners to declutter when showcasing a home for sale or rent, marketing your commercial property is all about presenting a consulting space that is clean and free of clutter so that potential practitioner can visualise their own practice moving in. Before your DIY photo shoot remove unnecessary furnishings, rubbish bins, and clutter on tables, desks and reception stations. A minimalist approach is a good rule of thumb.
2. Think about lighting
The time of day you choose for taking photos will determine available lighting and therefore the quality of your shots. The best ambient light usually comes from shooting in the middle of the day. And be sure to turn all the lights on. A well-lit space can make or break a photo!
Consider exposure too. If you are using a mobile phone camera, don’t just rely on auto exposure, you can adjust the exposure by hand. Open your camera app and tap the screen. When you see the lens refocus, you’ll see a very small sun icon and a vertical scale. Slowly swipe your finger up and down this scale to adjust the light level.
3. Get low and shoot for wide angles
Think about height when taking your photos. Most people look at a room from standing height. Your camera is digital and relies on someone to take the pictures, so when taken at standing height, rooms can look closed in and smaller than they are. A good rule of thumb is to hold your camera/smart phone below shoulder height, and adjust the lens until the walls are vertical and straight. Where possible, use a wide angle lens (if you don’t have one, take a step back to try and capture a whole space in one). This will open up the look of your rooms and give the impression of space.
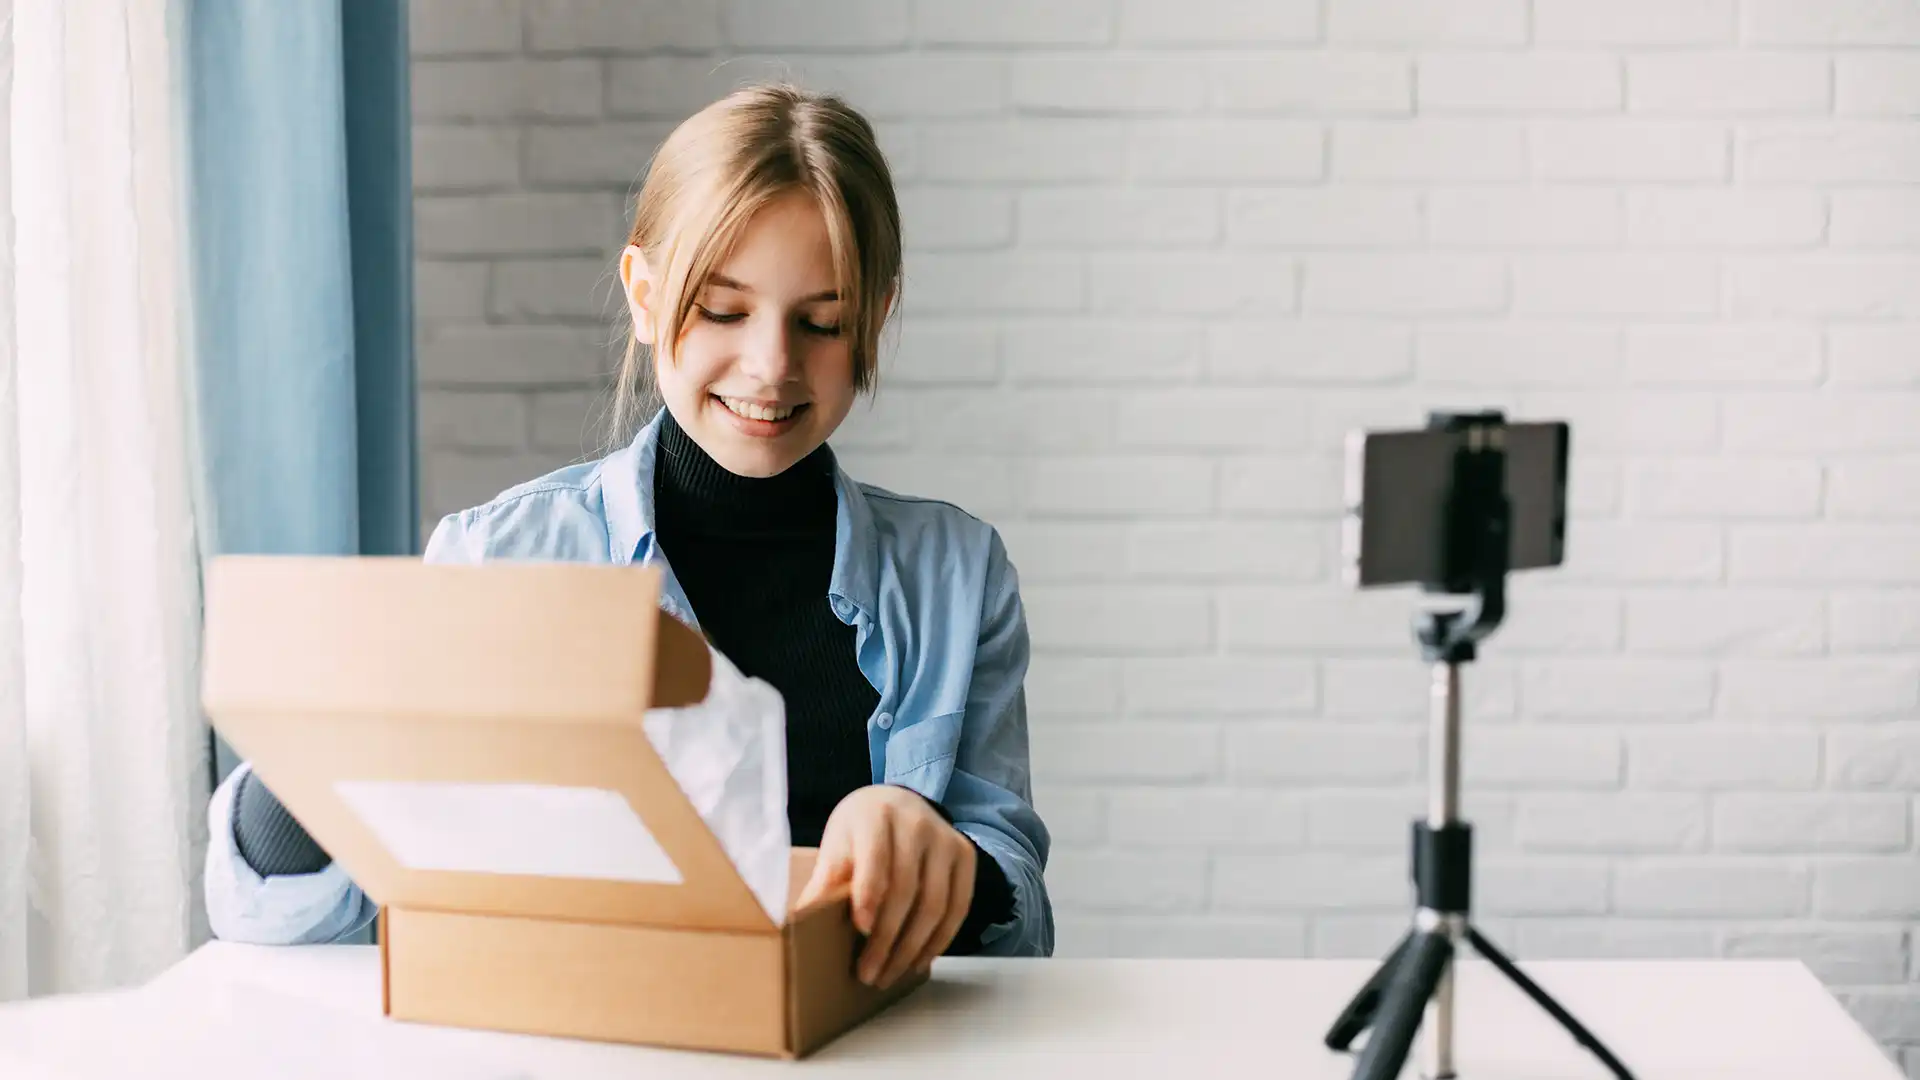
4. Employ a mobile tripod
Although mobile devices make it easy to snap any photo on the go, there’s never been an easier way to ensure the shot stays level and balanced when you shoot. Mobile tripods give you the freedom to mount your smartphone for quick hands-free shots without lugging any heavy equipment with you. They are barely bigger than your mobile device and can bend to any angle.
5. Look for different perspectives
While your photos need to provide a realistic look at the rental space available, there’s no harm in testing out a few shots from unique, unexpected angles…you may come away with a couple of really memorable shots to add to the mix. These images will help the photo gallery of your rental space stand out.
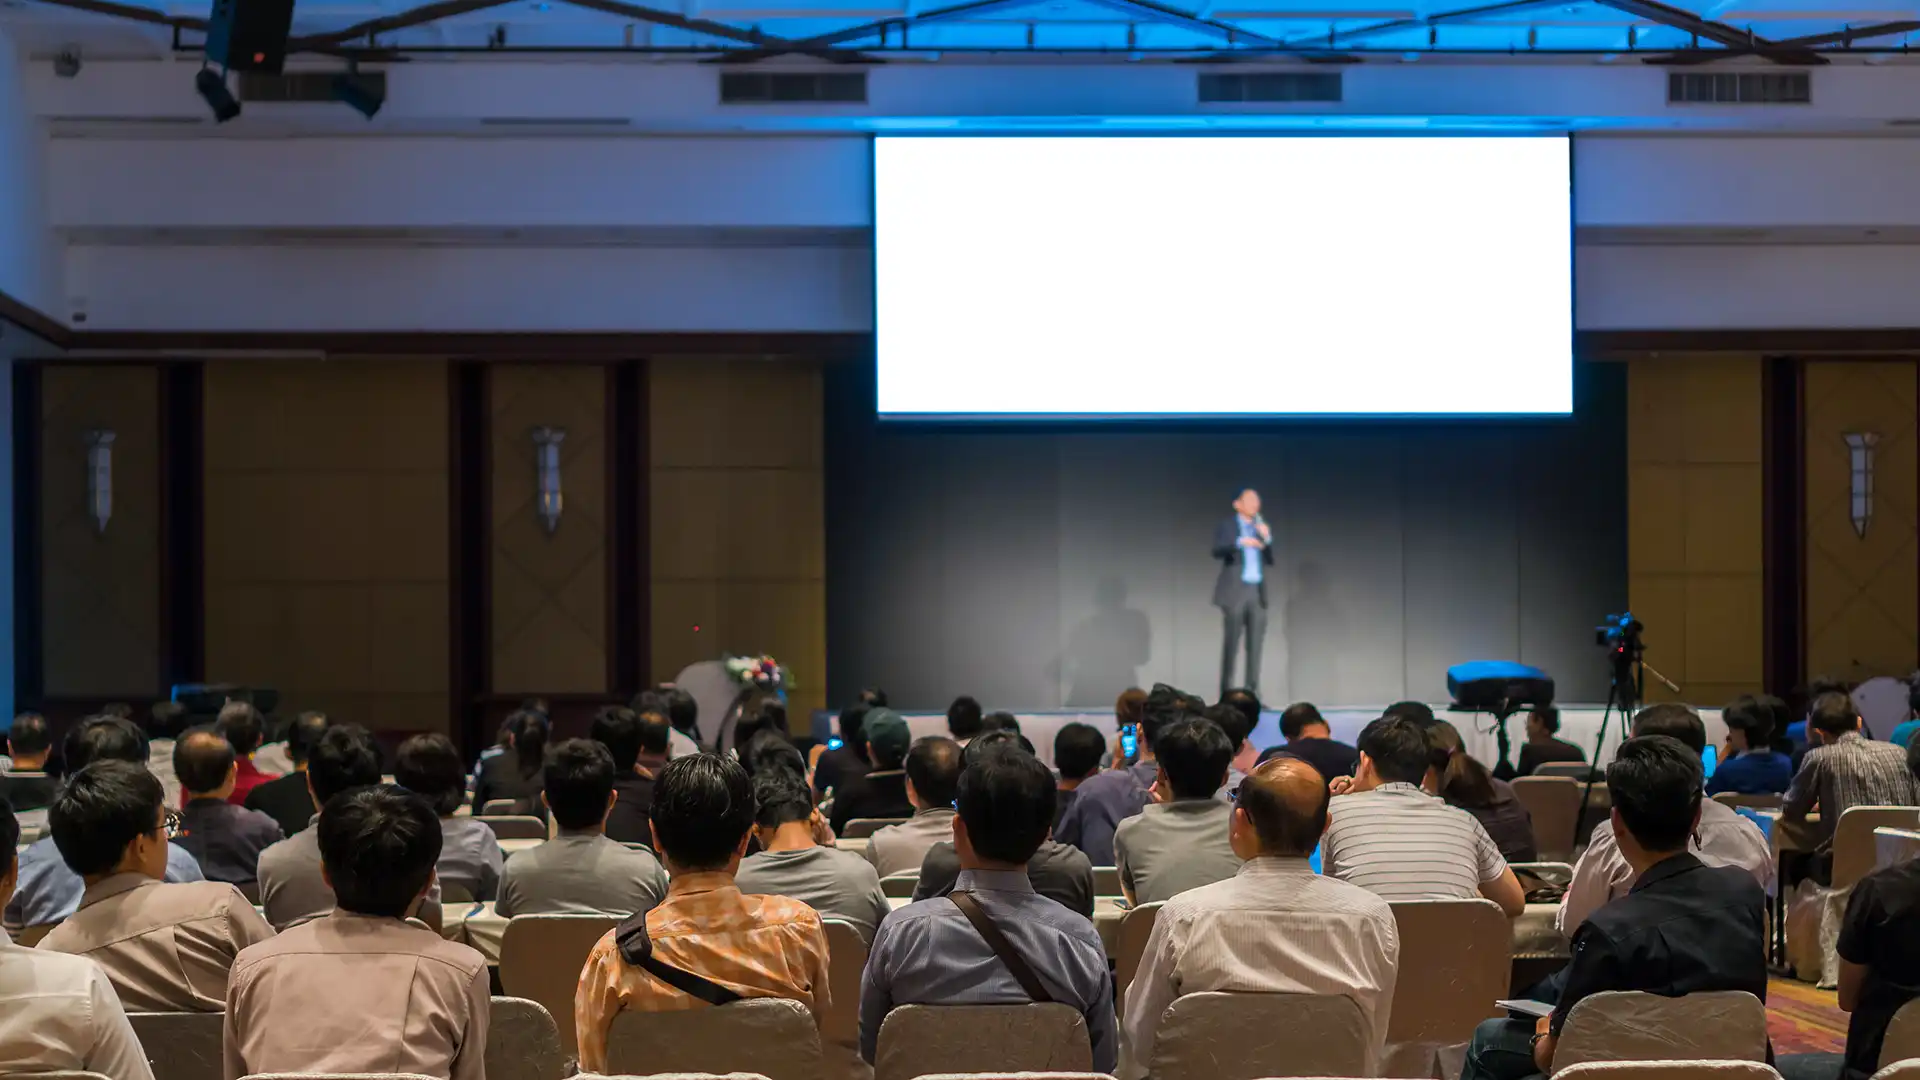
6. Include people
Having real people in the picture makes the picture come to life. It helps people to connect with your practice and creates warmer feelings which connects them with your rooms. It is not always fun to pose in the picture but if you can, it makes a big difference.
7. Create a short video from your photos
You can also create a video from your images to give the viewers a more interactive feeling with your rooms and practice. Register with Vimeo who also hosts your video. Or create a video with Canva for free and use Youtube to host your video. Once you have your video links, add them to your paid listing with Medical Rooms Online and your listing will look very good for a new potential Specialist or health professional.
Want more? Make sure to subscribe further down the page.